PoB ArchivesPoB Archives
PoE2 builds

PoE2 0.3·Third Edict·Tactician

Get BAITED Into These 3 League Start Builds With Me (PoE2 0.4)

by Dapper Goldie9 months ago22Subscribe

Effective HP
12.03K
Life
2.41K
Spirit
120
Level
93

Overview

Get BAITED Into These 3 League Start Builds With Me (PoE2 0.4) is a Path of Exile 2 Tactician build by Dapper Goldie, made for the Third Edict league (0.3). It is centered on Mortar Cannon and plays as a totem, strength, dexterity, grenade archetype. Defensively it sits at 12.03K effective HP, 2.41K life. Suited for: Legion, Ritual, Sekhemas, Ultimatum. Key uniques include Sanguis Heroum.

Build Video

Dapper Goldie's Notes

TACTICIAN MORTAR CANNON TOTEM BUILD NOTES AND TIPS Color Key: Green: Zones Red: Skills/Supports Blue: Uncut Skill Gem Rewards Orange: Bosses Pink: Passives Yellow: Other ***NOTES ON CAMPAIGN REWARDS AND PROGRESSION AT THE BOTTOM*** ***ASCENDANCY NOTABLE PRIORITY*** TACTICIAN (Probably most optimal choice for the Mortar Cannon build.) 1--> Cannon's Ready 2--> Strategic Embankments (NEW NODE IN 0.3) 3--> Polish that Gear if you have decent amount of Armour and feel in need of defenses OR A Solid Plan otherwise. 4--> Polish that Gear/A Solid Plan/Watch How I Do It Polish That Gear is going to be a possible flex node. If we can obtain enough deflect from passive nodes and modifiers on gear, then we wont need this node and definitely perfer Watch How I Do It over that if that ends up being the case. However, Polish That Gear could definitely be a solid choice for anyone playing HC if you're lacking defense. GEMLING LEGIONAIRRE (If you don't want to play totems and just sling out nades, this will probably be the better option. If that is the case, ignore all totem nodes on the tree) 1--> Crystalline Potential 2--> Implanted Gems --> Pick either Strength or Dex option. 3--> Gem Studded --> This node will depend on which supports you have socketed. - Try to either acquire the Red Gem buff (Hits against you have no Critical Damage Bonus) or the Green gem buff (40% less Movement Speed Penalty from using Skills while Moving) 4--> Integrated Efficiency I will be setting up a weapon swap tree later with one tree being used for the Totems and the other tree being used for Bolt Skills ***PASSIVE TREE*** Passive Point Pathing Priority - Start with projectile damage --> rush Grenadier for extra grenade charges. - Path towards Volatile Grenades then check the Deflect nodes (if you have evasion at this point) and the other new crossbow nodes nearby. - You can consider grabbing Cluster Bombs after getting Volatile Grenades - Path towards Repeating Explosives - Path towards Authority and Crushing Judgment then consider the totem nodes if Mortar Cannon is available, otherwise hold off on totem nodes. - From this point our pathing heavily depends on what new nodes we have available, and also whether or not Mortar Cannon is available for use early on. PERMANENT BUFFS AND USEFUL REWARDS/DROPS AND TIPS TO GET THROUGH CAMPAIGN ***DISCLAIMER*** Some of these rewards and permanent buffs may have been changed for 0.3. But generally you should be getting rewards/buffs from the same sources even if the rewards/buffs end up being different. This information is only useful through Act 3, as Act 4 and the 3 Interlude acts are all completely new and have yet to be explored. ***DISCLAIMER 2*** Judging by the "coming soon" skill slots in the Crossbow section, Mortar Cannon will either be available at Gem Level 9 (character level 31) OR Gem Level 13 (Character level 52) ***ACT 1*** Riverbank to Clearfell - Grab Explosive Grenade with first skill gem - Equip MTX so you look cool - Extra Lvl 1 skill gem in chest outside of clearfell at the Campsite. Use it to cut Fragmentation Rounds - Fight your way through Mud Burrow for level 2 skill gem and gear to sell. Return to Clearfell and buy gear from Renly - Use first support gem on multi projectiles/scattershot - Use the Lvl 2 skill gem obtained from mud burrow boss for Explosive Grenade for more damage. - Kill Beira for + 10% to Cold Resistance and move on to Grelwood. Grelwood - Find waypoint near the Hooded One - Brambleghast gives Lvl 2 Skill Gem - Try to find the entrance to the Grim Tangle and grab the waypoint before moving onwards to Red Vale. - Should be able to skip the life/mana flask witch Red Vale - Lvl 3 Skill Gem from Rust King Grim Tangle - Lvl 1 Support gem from The Rotten Druid Cemetery of the Eternals - Normal Rarity Ring from sarcophagus in area - Lvl 3 Skill Gem from Lachlan Hunting Grounds - Lvl 4 Skill Gem at the Ritual Altar - +2 Passive Points from Crowbell Freythorn - King in the Mists: +30 to Spirit and Lvl 4 Spirit Gem Ogham Farmlands - +2 Passive Points from Una's Lute Ogham Village - Uncut Support Gem from The Executioner - Lvl 5 Skill Gem from Leitis as a Quest Reward in town - Find Renly's Smithing Tools to unlock the Salvage Bench (once per league) - Artificer's Orb and BLANK Lesser Rune found at the chest near Renly's Smithing Tools. Manor Ramparts - Uncut Support Gem from a hanging man Ogham Manor - Defeat Candlemass for +20 maximum life. ***ACT 2*** Vastiri Outskirts - Lvl 6 Skill Gem as quest reward from Zarka for defeating Rathbreaker Mawdun Quarry - Artificer's Orb from a chest near a checkpoint. - Blacksmith's Whetstones drop from this area at a higher rate. Mawdun Mine - Lvl 6 Skill Gem from Munitions Bunker (an interactable object) Traitor's Passage - Obtain Djinn Barya from defeating Balbala to gain access to the Trial of the Sekhemas (First Ascendancy Trial) Keth - +2 Passive Points from defeating Kabala the Constrictor Queen - Make sure to kill monsters in this area until you get the Kabala Clan Relic Mastodon Badlands - Make sure to kill monsters in this area until you get the Sun Clan Relic - Entrance to Lightless Passage Buried Shrines -Magic Ring of your choosing. Choose based on your lowest Elemental Resistance at this point - Offering of Fire for Ruby Ring if Fire Res is the lowest - Offering of Water for Sapphire Ring if Cold Res is the lowest - Offering of Lightning for Topaz Ring if Lightning Res is the lowest - The Main Boss of Act 2 Jamanra deals lightning damage, consider just getting the Offering of Lightning if you'd like to be prepared for that. Valley of the Titans - Insert the Sun Clan Relic and Kabala Clan Relic into the relic slots. Make your choice between Charm Charges Gained OR Increased Mana Recovery from Flasks. - I recommend Charm Charges gained. Deshar - +2 Passive Points from finding the Final Letter at the base of one of the burial towers - Obtain a second Djinn Barya from defeating two specific Rare Vulture monsters within Deshar Path of Mourning - Lvl 8 Skill Gem from Hushed Urn (an environmental object) Spires of Deshar - Gain +10% to Lightning Resistance by clicking on Sisters of Garukhan (an environmental object) The Dreadnought - If you feel weak or underleveled, you can reset this zone to farm levels/gear before taking on Jamanra. ***ACT 3*** Sandswept Marsh - Find the Orok Campfire within this zone for a free Lesser Jewelers Orb in a chest Jungle Ruins - +2 Passive Points for defeating Mighty Silverfist - HC players AVOID MIGHTY SILVERFIST IF YOU WANT TO LIVE!!!! Come back later after being overleveled for these Passive Points - Rare Belt obtained from Servi at the Jungle Grave within this zone Venom Crypts - Choice of Permanent Buff after finding the corpse that gives the Snake Venom quest item in this zone. (Turn in at Servi in town) - 25% increased Stun Threshold - 30% increased Elemental Ailment Threshold - 25% Increased Mana Regeneration Rate (CHOOSE THIS ONE FOR THE TOTEM BUILD) The Azak Bog - +30 to Spirit and Lvl 9 Spirit Gem from defeating Ignagduk the Bog Witch Chimeral Wetlands - Obtain Chimeral Inscribed Ultimatum by defeating Xyclucian the Chimera (Gives you access to the Trial of Chaos for your Ascendancy) - Entrance to the Trial of Chaos can be found in this zone Jiquani's Machinarium - Defeat Blackjaw the Remnant for +10% to Fire Resistance The Molten Vault - The entrance to this zone is found in The Drowned City - Defeat Mektul the Forgemaster to gain access to the Reforging Bench - Can skip until needed later in the league. (I personally dont reforge very often) Utzaal - Various Idols can be found in side areas of this zone that can be sold to Oswald in town for a total of 3000 gold if you find all three. - Kill Vaal Goliaths in this zone or in Aggorat until one of them drops the "Sacrifical Heart". Aggorat - Bring the Sacrificial Heart to the sacrificial altar in this zone and stab it with Sacrificial Dagger (found at the altar) for +2 Passive Points ***ACT 4*** NEW -- YET TO BE DISCOVERED ***INTERLUDE 1*** NEW -- YET TO BE DISCOVERED ***INTERLUDE 2*** NEW -- YET TO BE DISCOVERED ***INTERLUDE 3*** NEW -- YET TO BE DISCOVERED

Loadouts

Gear

Tap an item to open trade.

Rune Core
Rapture Guardian
Blight Salvation
Mind Pendant
Kraken Hold
Agony Twirl
Wrath Mitts
Wrath Clasp
Agony Span
Viscous Ultimate Life Flask of the Sylvan
Dense Ultimate Mana Flask of the Sylvan
Natural Thawing Charm of the Brewer
Natural Stone Charm of the Abundant
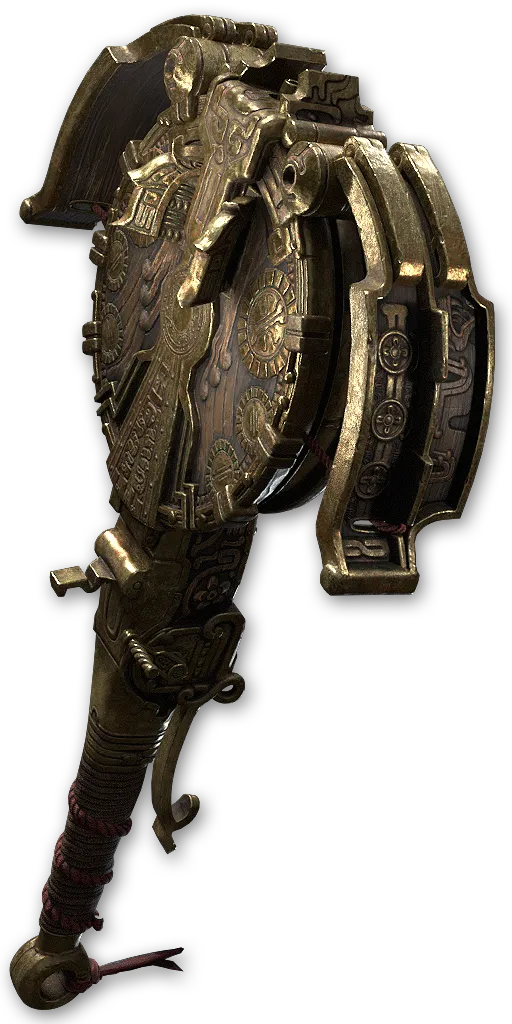
Sanguis Heroum
Gale Spark
Entropy Sliver
Bramble Shard

Skills

Tap a skill to open trade.

  • Mortar CannonMortar Cannon20WMain
  • Explosive GrenadeExplosive Grenade20W
  • Multishot IIMultishot II1W
  • Magnified Area IIMagnified Area II1W
  • Elemental Armament IIElemental Armament II1W
  • Fire AttunementFire Attunement1W
  • Wind DancerWind Dancer6W
  • Magnified Area IIMagnified Area II1W
  • Pin IIPin II1W
  • MaimMaim1W
  • Explosive ShotExplosive Shot7W
  • Nimble ReloadNimble Reload1W
  • Rapid Attacks IIIRapid Attacks III1W
  • War BannerWar Banner12W
  • Magnified Area IIMagnified Area II1W
  • Prolonged Duration IIIProlonged Duration III1W
  • Herald of AshHerald of Ash12W
  • Magnified Area IIMagnified Area II1W

Passive Tree

Passive tree 0.4
scroll to zoom
Tactician
Tactician

Character Stats

Level
93

Damage

Full DPS
0
Combined DPS
0
Hit DPS
0
With Poison DPS
0
With Ignite DPS
0
With Bleed DPS
0
Damage over Time
0
Culling DPS
0
Reservation DPS
0
Average Damage
0
Burst Damage
0

Attack & Crit

Attack/Cast Rate
2.08/s
Hit Chance
100%
Accuracy
1.64K
Crit Multiplier
200%
Totem Limit
3
Mana Cost
121
Life Cost
0
Spirit Reserved
0

Defence

Effective Hit Pool
12.03K
Life
2.41K
Energy Shield
0
Mana
729
Spirit
75
Darkness
0
Armour
0
Evasion
8.32K
Phys Damage Reduction
0%

Mitigation & Avoidance

Block
0%
Spell Block
0%
Spell Suppression
0%
Evade (Melee)
45%
Evade (Projectile)
45%
Evade (Spell)
45%
Deflect
53%
Attack Dodge
0%
Spell Dodge
0%

Resistances

Fire Resistance
76% (+22%)
Cold Resistance
75% (+33%)
Lightning Resistance
75% (+16%)
Chaos Resistance
33%

Max Hit Taken

Physical
2.5K
Fire
8.94K
Cold
8.62K
Lightning
8.62K
Chaos
3.6K

Recovery

Life Regen
23.6/s
ES Regen
0/s
ES Recharge
0/s
Mana Regen
29.2/s
Life Leech
0/s
ES Leech
0/s
Mana Leech
0/s

Attributes & Utility

Strength
120
Intelligence
30
Dexterity
125
Movement Speed
48%
Endurance Charges
3
Frenzy Charges
3
Power Charges
3
Devotion
0
Presence Radius
4 m